If you’ve ever wished you could post on LinkedIn without being online, you’re not alone.
Until recently, scheduling LinkedIn posts required third-party tools. But now, the platform’s built-in scheduling feature makes it easy to plan your content in advance, helping you stay consistent and visible even when you’re busy.
In this guide, you’ll learn how to schedule posts on LinkedIn, how to view or find scheduled posts, and even how to edit or delete them before they go live.
Let’s make your posting workflow smoother than ever.
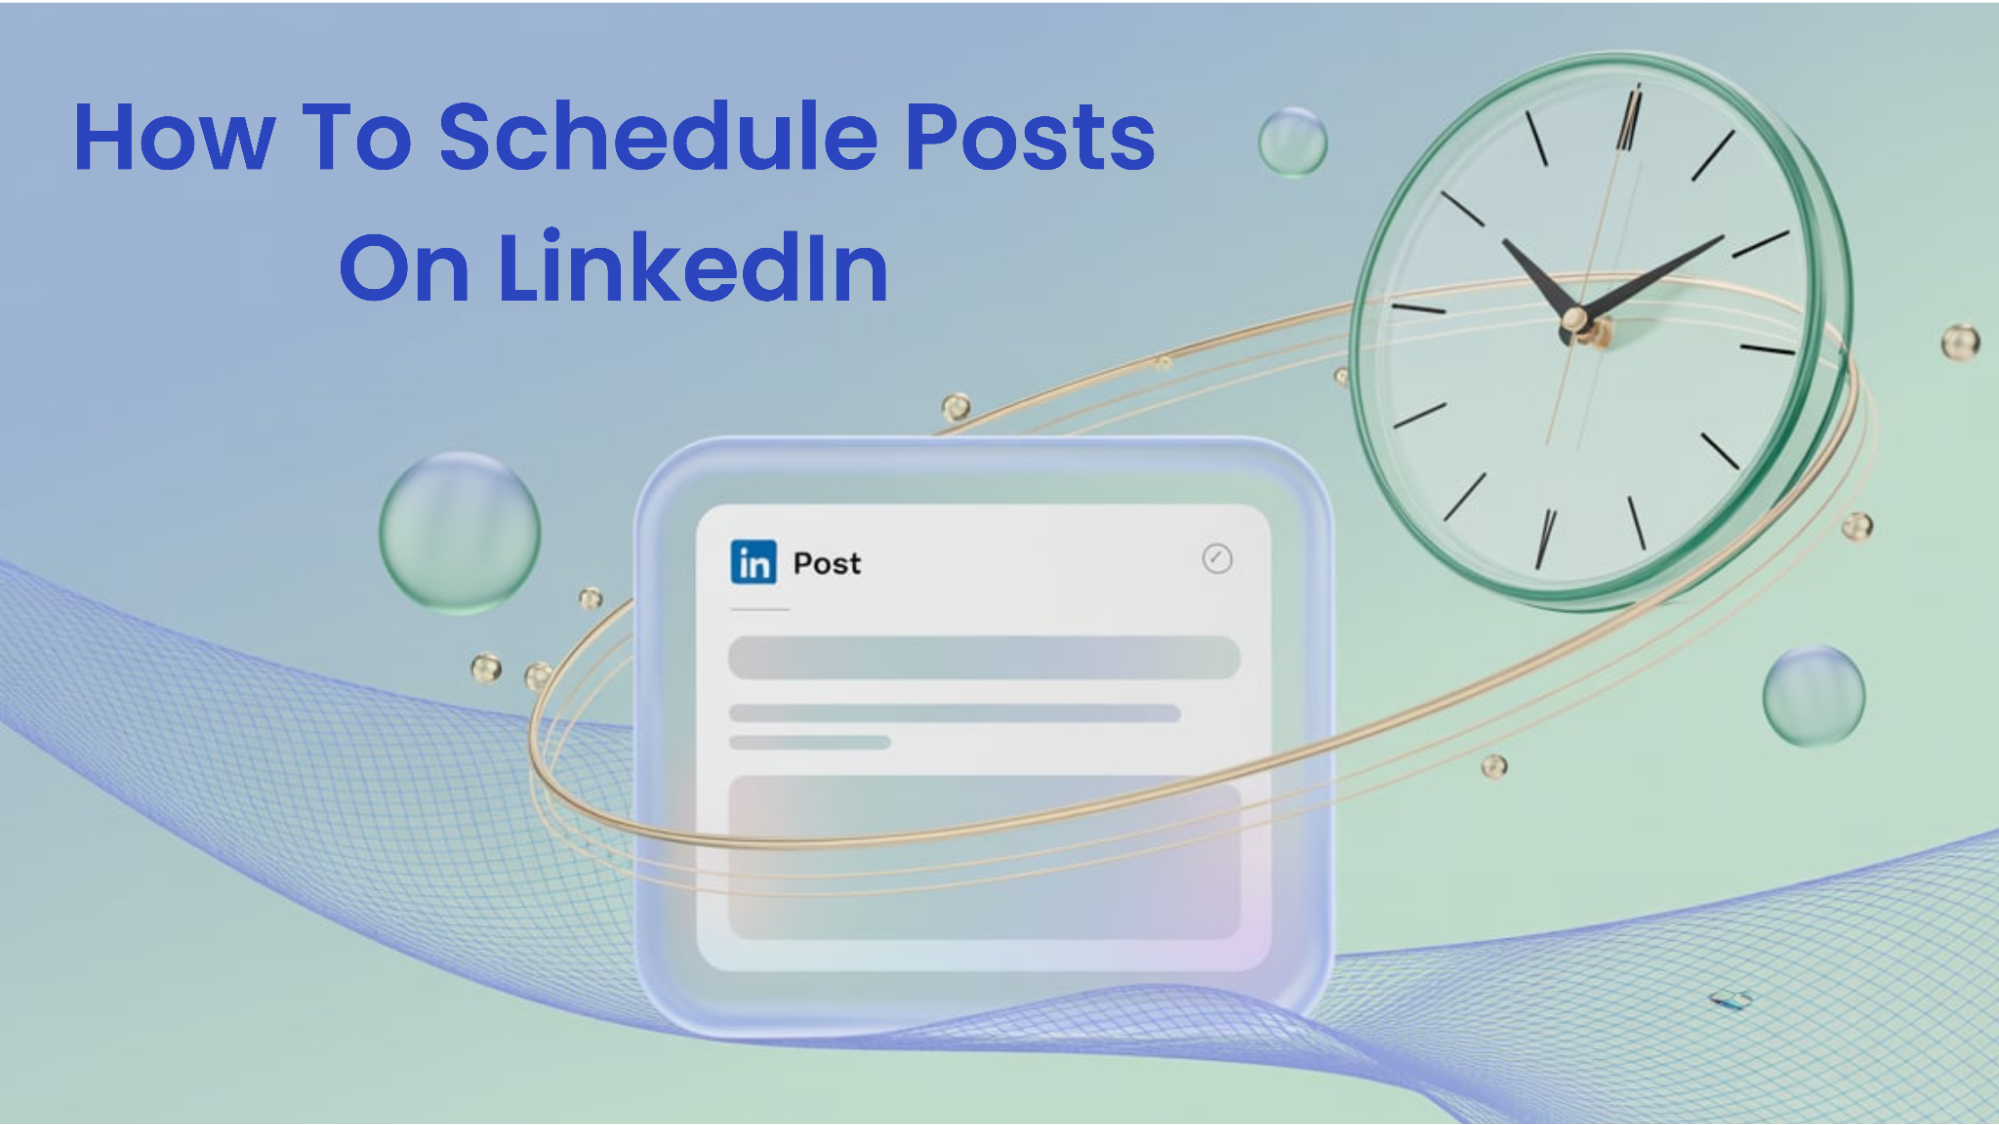
What Is LinkedIn Post Scheduling?
Post scheduling lets you create your content now and automatically publish it later.
Think of it as setting your posts on autopilot. Whether you’re sharing a career update, a thought leadership post, or a company announcement, you can now time it perfectly.
Why use scheduling on LinkedIn?
- Maintain consistent posting even on busy days
- Reach your audience at peak engagement hours
- Avoid forgetting to post
- Save time by batching content
How to Schedule a Post on LinkedIn
Let’s go step by step.
On Desktop
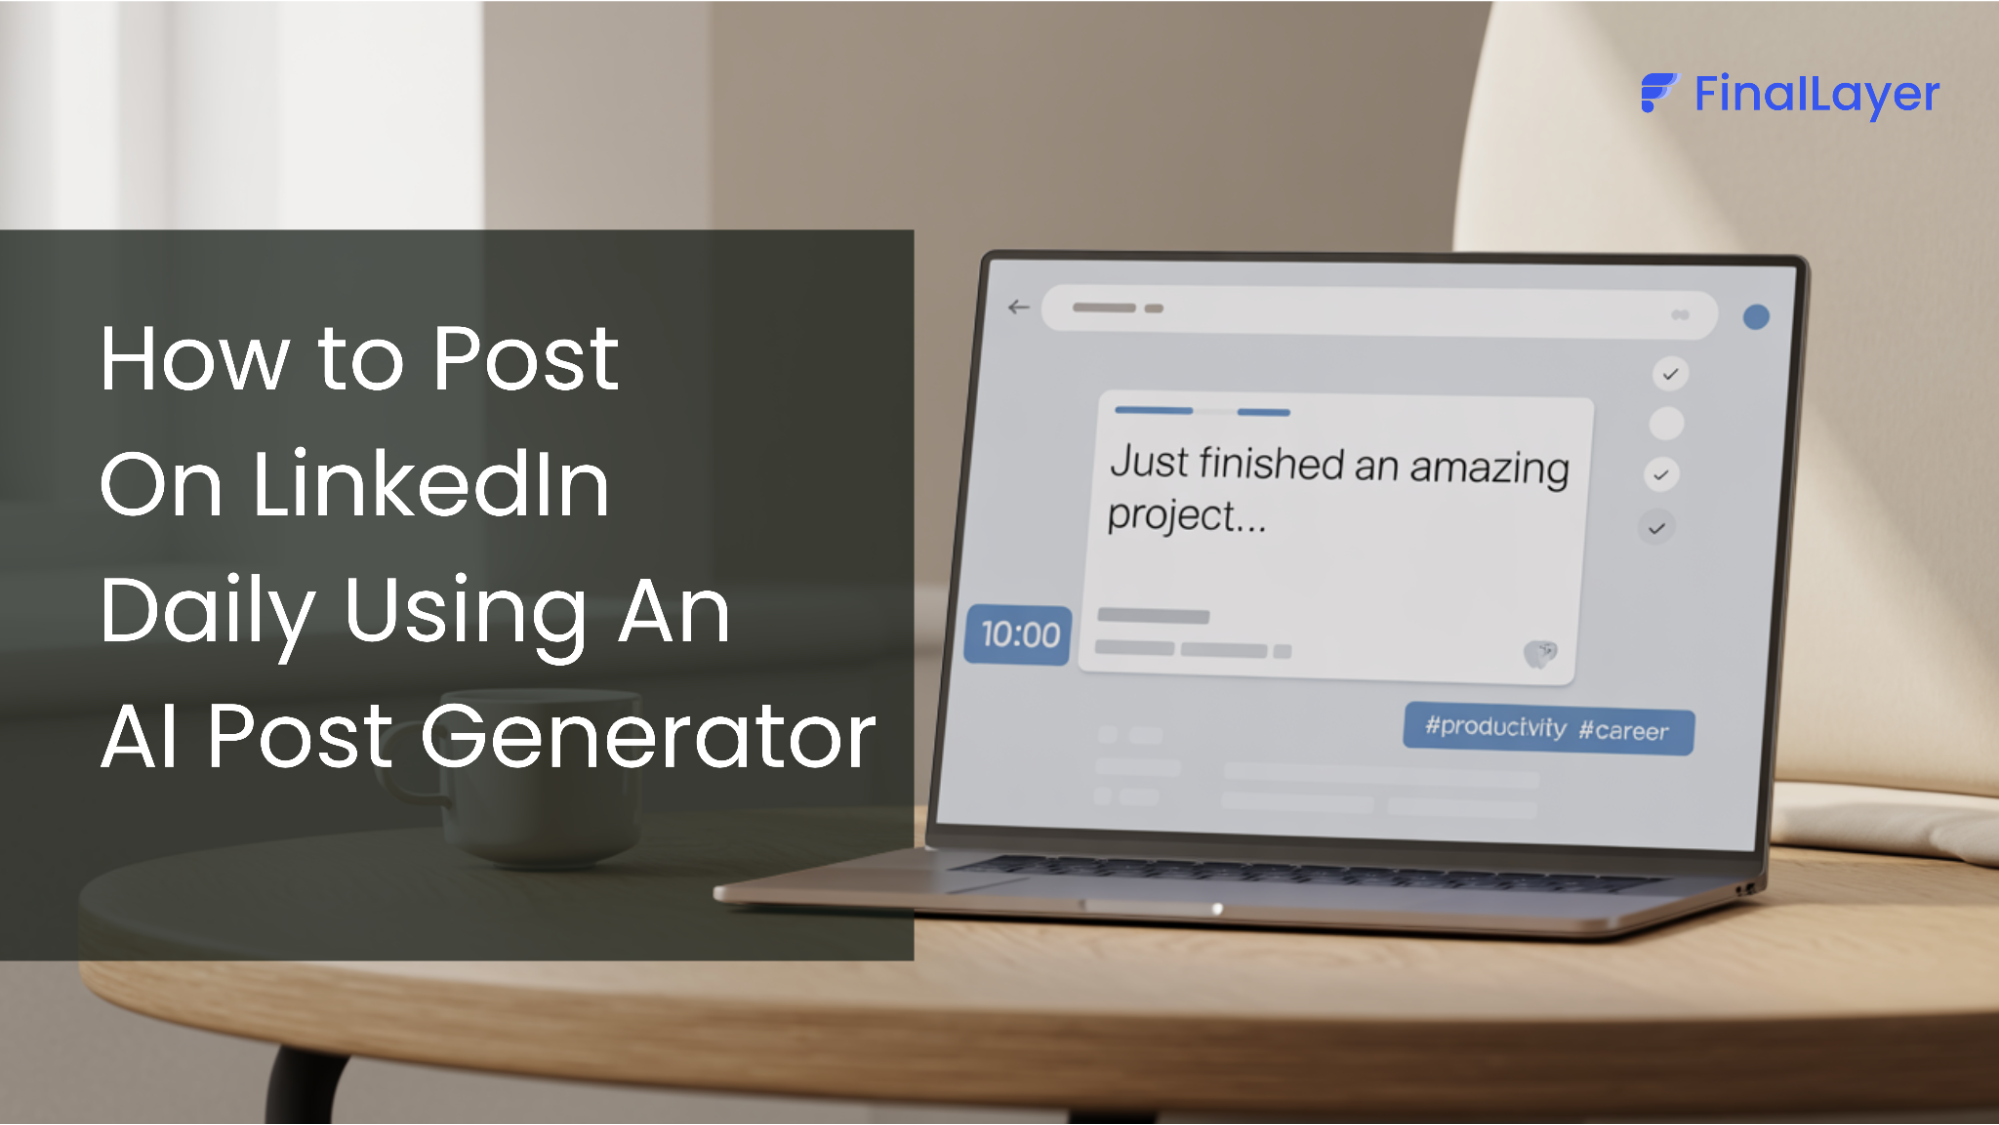
1. Go to your LinkedIn Home Feed. Click “Start a post” as you normally would.
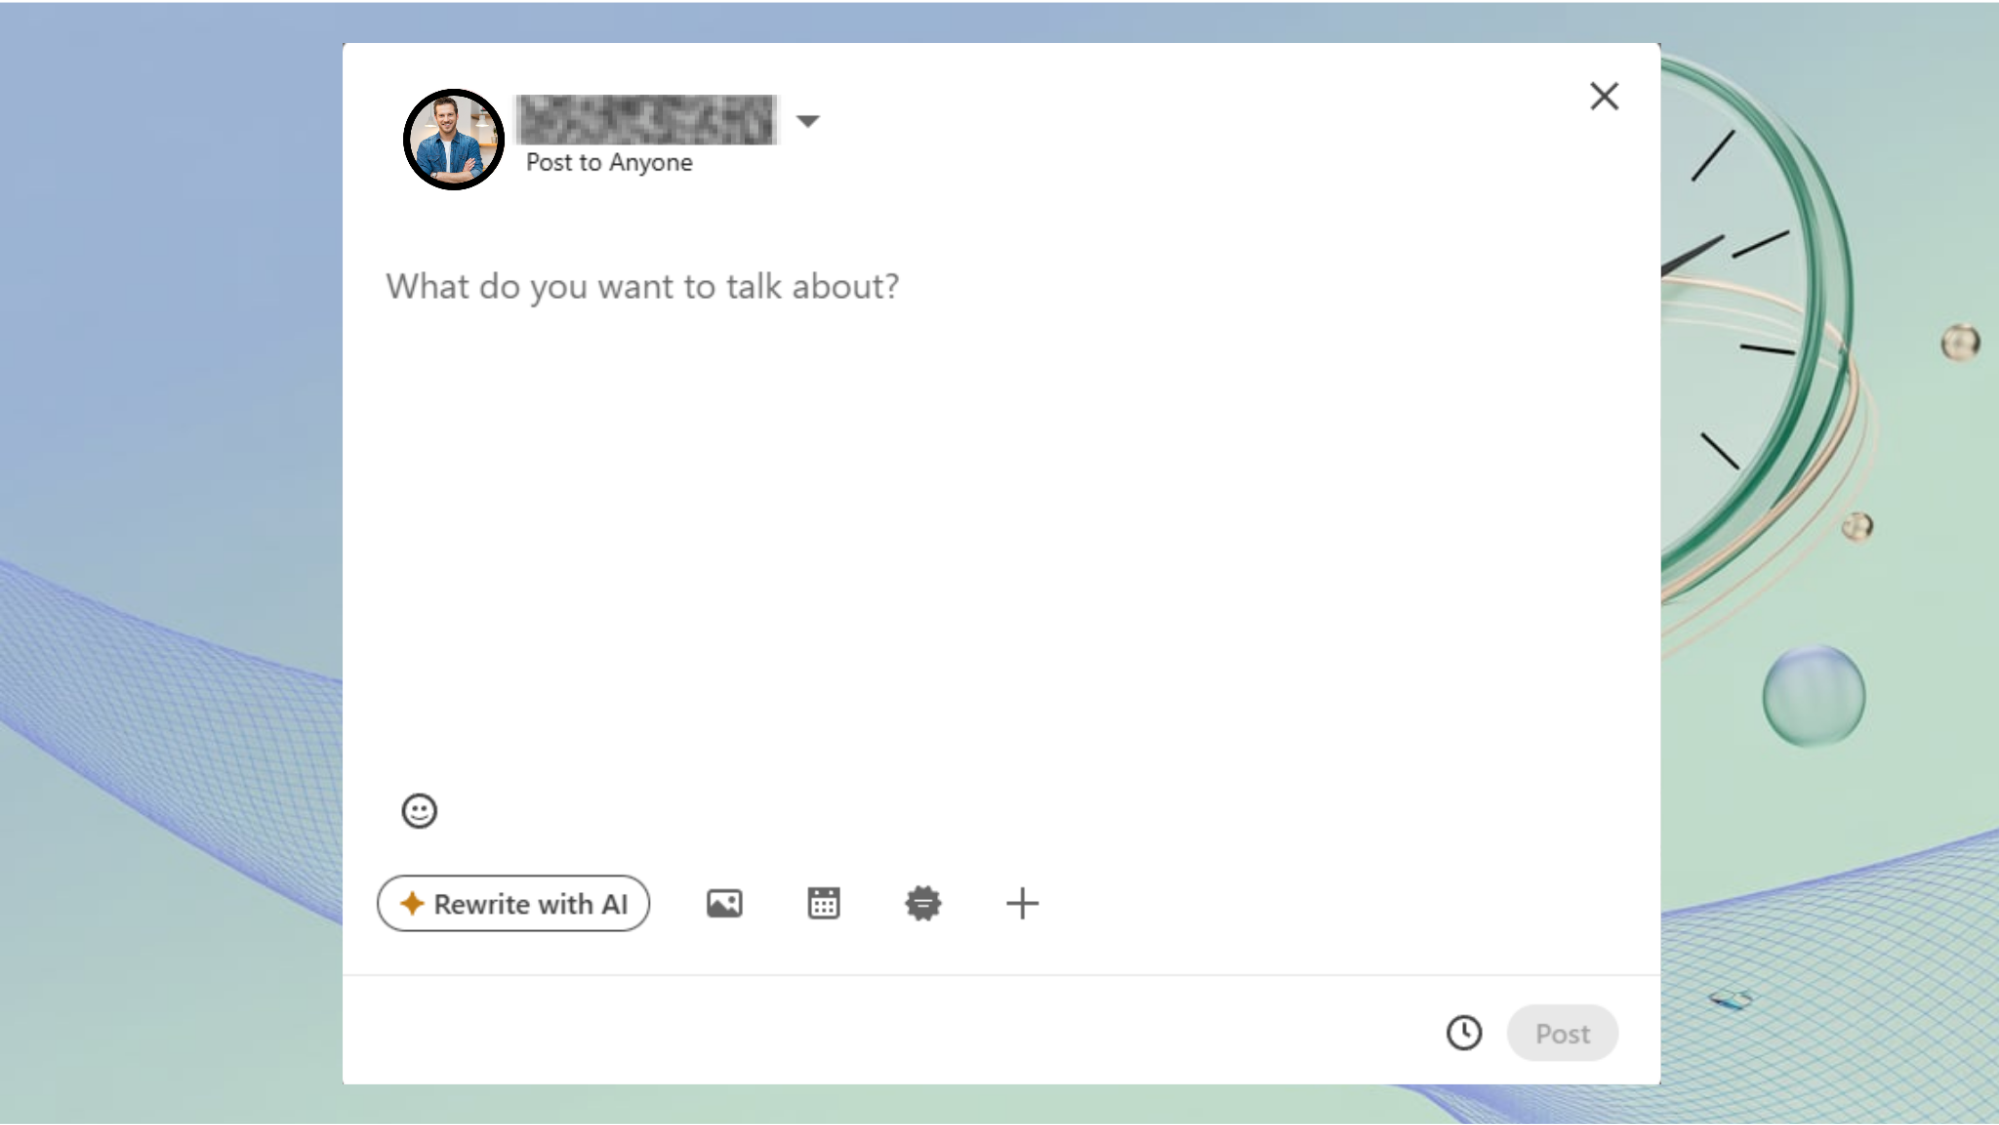
2. Write your post, add text, links, hashtags, or images. Click the clock icon (🕒) at the bottom right.
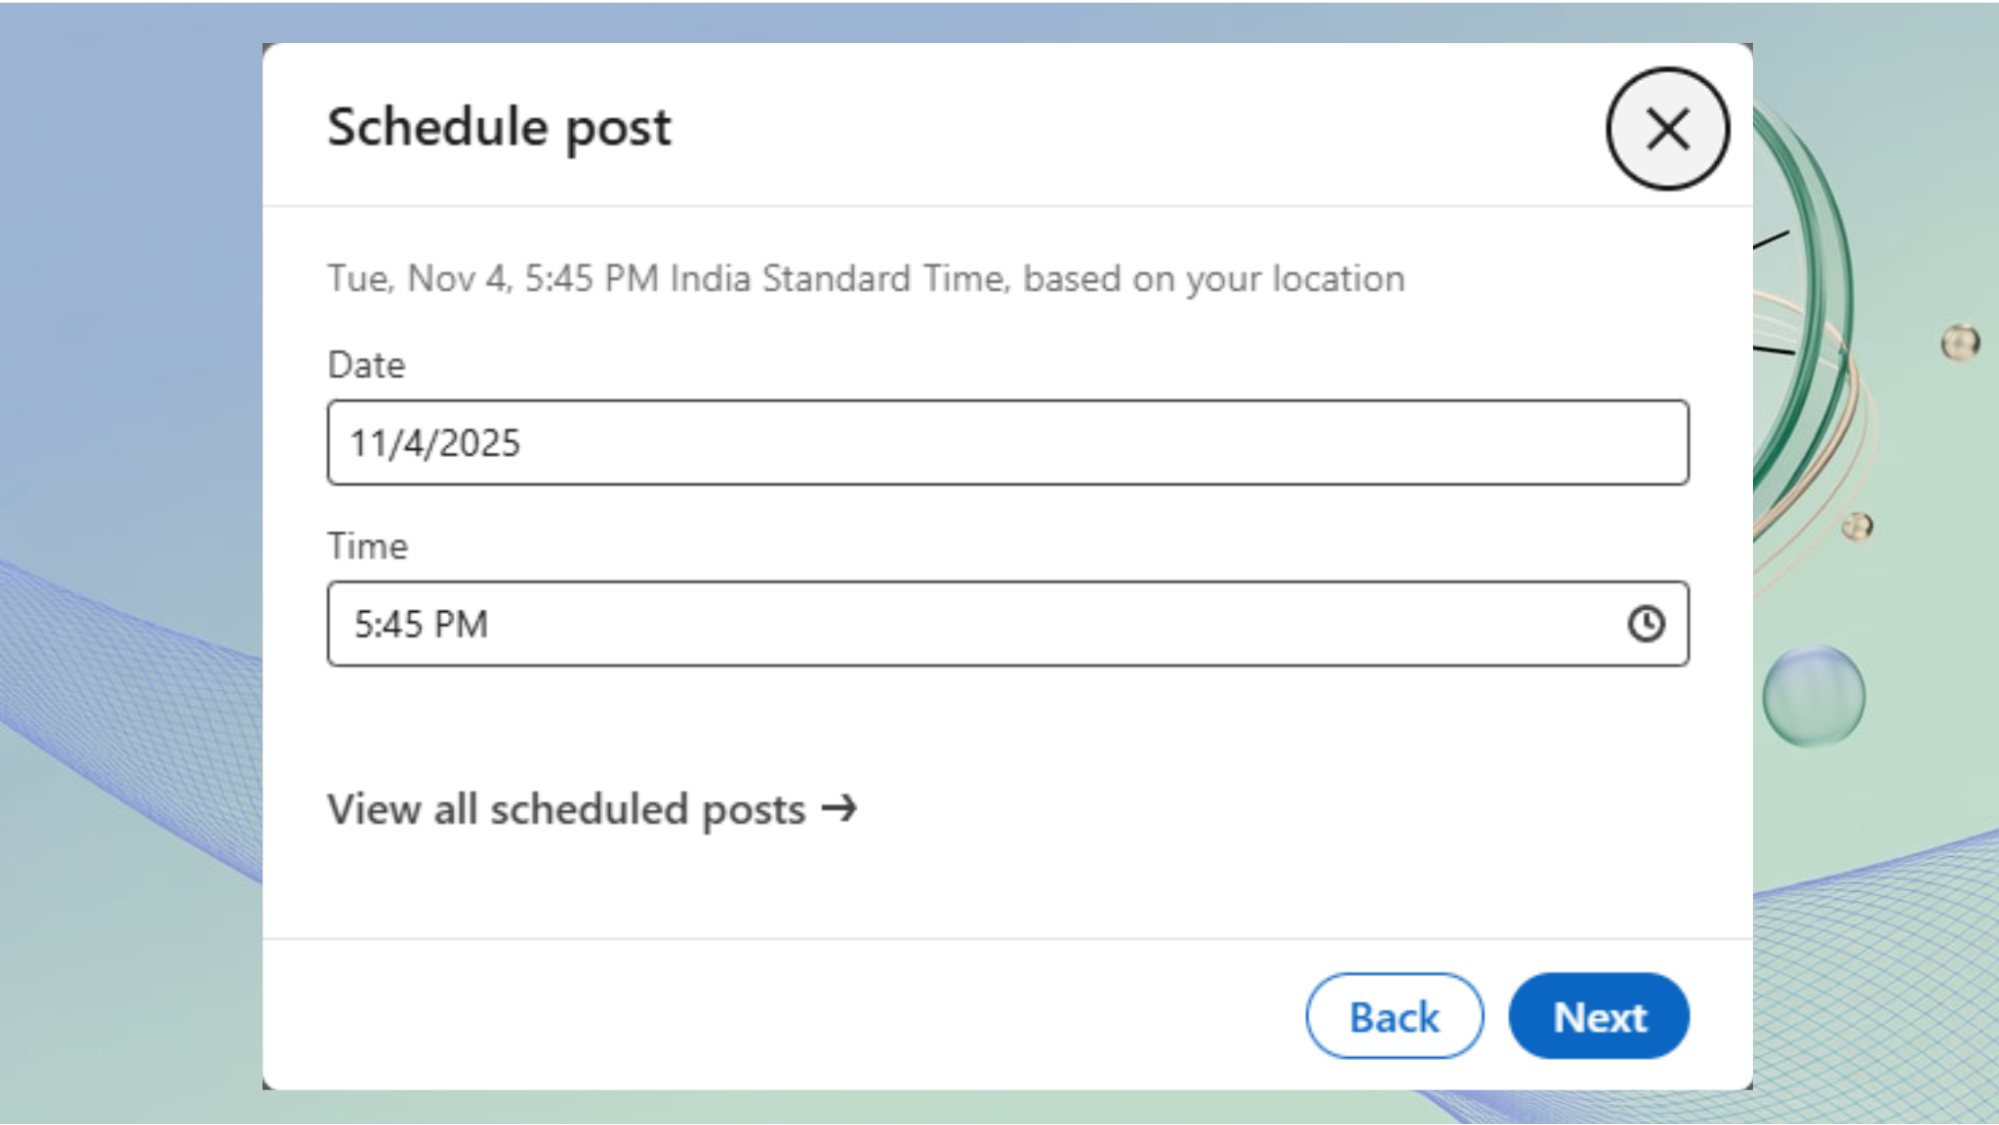
3. Choose your preferred date and time for publishing. Click “Next” → “Schedule.”
Done! Your post will now automatically publish at that time.
On Mobile
LinkedIn has started rolling out scheduling for mobile users as well.
- Tap “Post” on your home feed.
- Compose your content.
- Tap the clock icon → choose time → Schedule.
If you don’t see it yet, keep your app updated. The feature is still rolling out regionally.
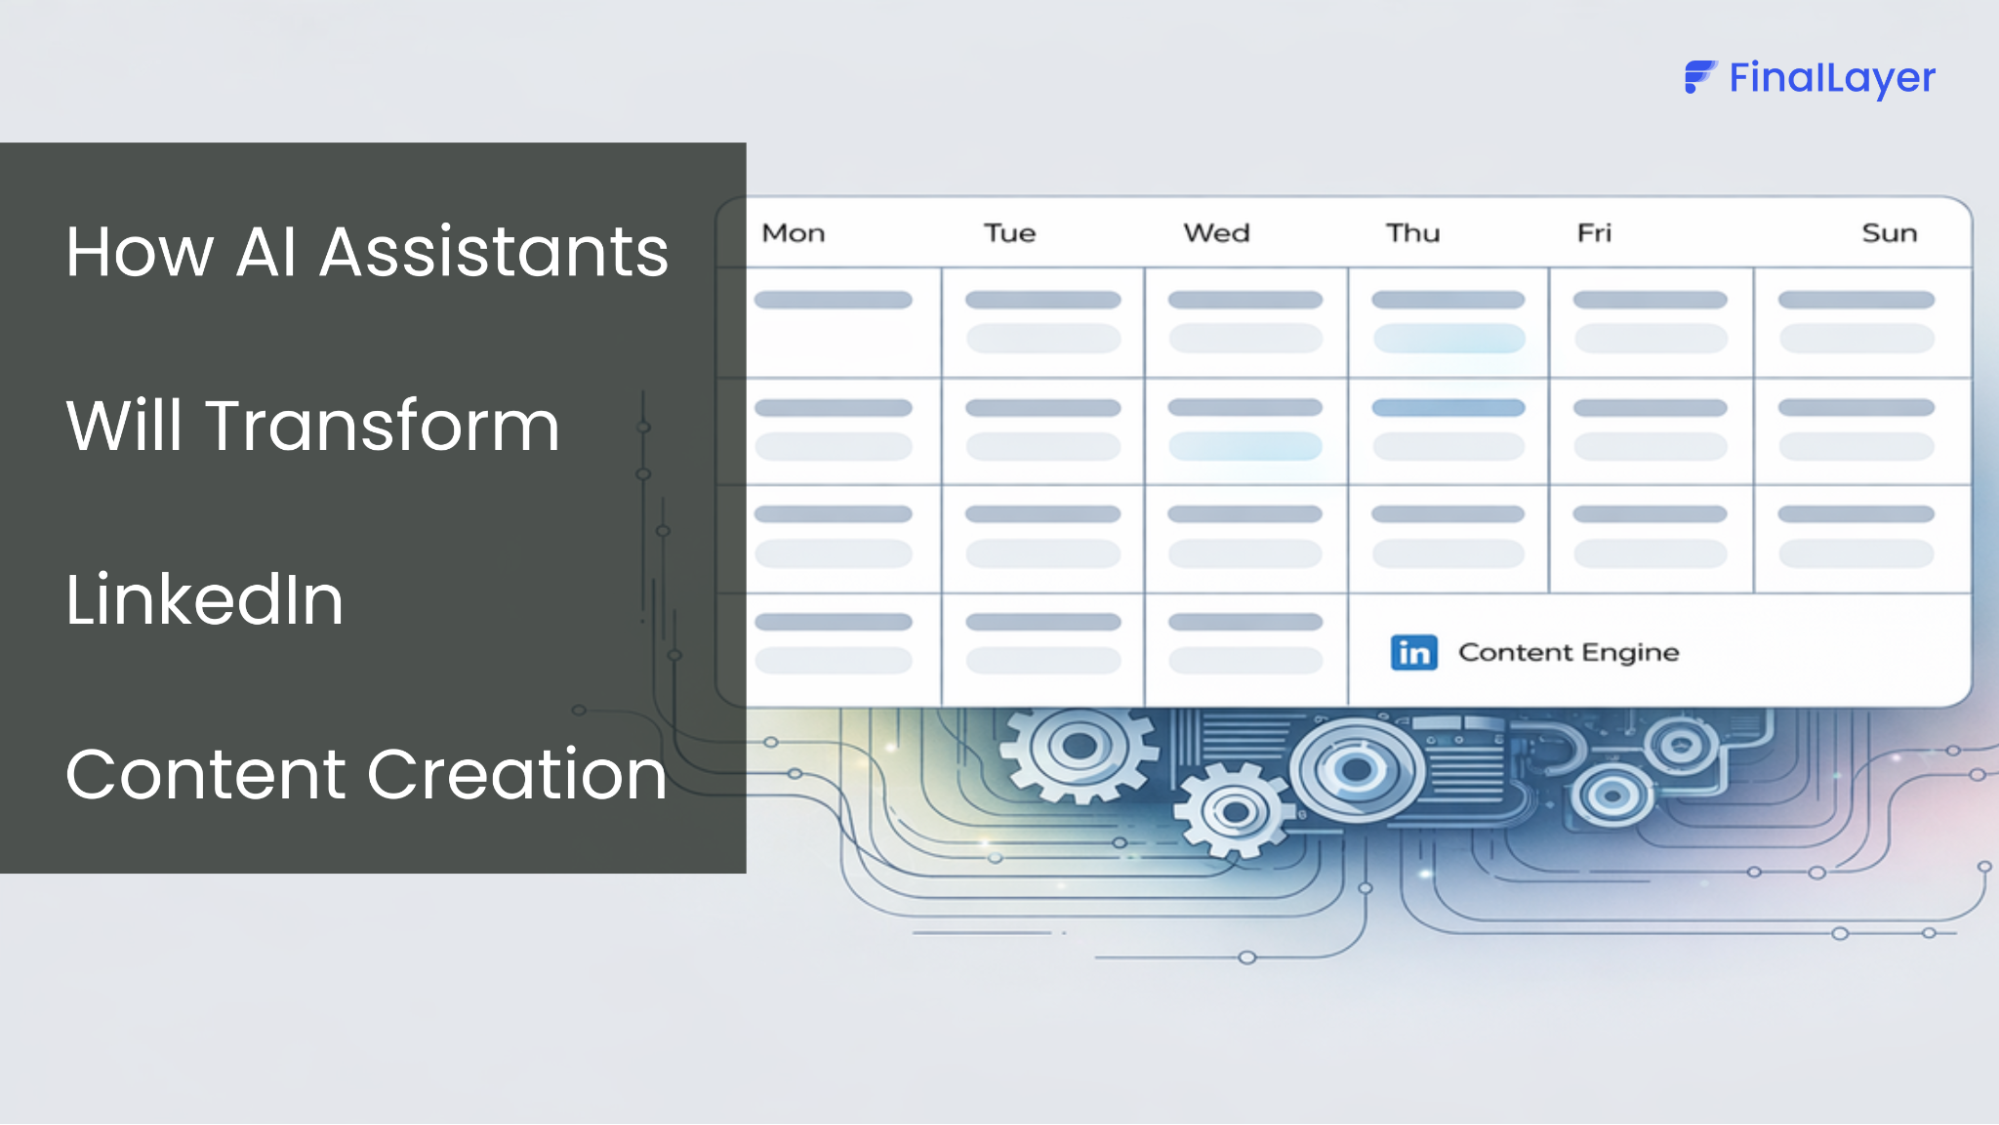
How to See Scheduled Posts on LinkedIn
After scheduling, you can easily check or see your scheduled posts on LinkedIn and
edit them.
To see your scheduled posts:
- Click “Start a post.”
- Click the clock icon again.
- Select “View all scheduled posts.”
- You’ll see a list of all upcoming posts, along with their scheduled times.
Here, you can preview, reschedule, or delete posts if you change your mind.
How to Edit or Delete Scheduled Posts
Editing works only before the scheduled publish time.
Go to View Scheduled Posts (using the steps above).
Click “Edit” to modify the text, image, or hashtags.
Save and reconfirm the schedule.
To delete a post, click the three dots (⋯) → “Delete post.”
Note: Once a post is published, you can still edit the text, but not reschedule it.
Best Practices for Scheduling LinkedIn Posts
Scheduling isn’t just about convenience; it’s about strategy. Here are a few ways to make the most of it:
1. Post at the Right Time
According to LinkedIn’s engagement data, the best time to post is:
- Tuesday to Thursday
- 8 AM to 11 AM (your audience’s local time)
2. Keep It Consistent
Aim for at least 2–3 posts per week. The LinkedIn algorithm favors profiles that post regularly.
3. Maintain Human Touch
Avoid sounding robotic. Even when scheduling, use natural tone and storytelling to keep engagement high.
4. Plan Weekly Content Themes
Try “Motivation Mondays,” “Insight Wednesdays,” or “Showcase Fridays.” Batch-create these posts and schedule them in advance.
LinkedIn’s native scheduler works great for individual posts. But if you manage multiple accounts or want analytics, caption generation, and cross-platform scheduling, a dedicated tool is better.
Conclusion
Consistency on LinkedIn is more than just a habit; it’s a signal of reliability and intent. Scheduling posts helps you maintain that rhythm, ensuring your ideas reach your audience when they’re most active.
By planning content ahead of time, you free yourself from the daily pressure of posting and instead focus on creating meaningful updates that spark genuine conversations. Whether you’re building your personal brand, nurturing your network, or sharing insights, thoughtful scheduling helps you stay visible and relevant even on your busiest days.