Before you begin: Connect your LinkedIn account and add reference posts for personalization so the Super AI Agent can understand your writing style and create posts that sound genuinely like you.
Step-by-Step Guide
1. Choose Your Profile Type
Click the profile dropdown at the top or use the side navigation to switch between:- Company Page - Post to your company or showcase pages
- Individual Profile - Post to your personal profile
2. Choose Your Content Direction
- Option A: Browse Post Ideas Browse curated post ideas matching your interests: Industry insights, Your story ideas, Trending news & Commentary and Professional tips.
- Option B: Write Your Prompt Enter your own prompt about any topic you want to cover.
3. Use Advanced Features
- Create “Your Story” Posts Find a post idea card with “Your story”. Customize the prompt by providing specific inputs about your experiences.
- Create News & Industry-Related Posts Browse through post ideas related to current news and industry insights to stay updated on LinkedIn with trending industry news.
The “Live research agent” helps you find accurate, up-to-date industry information, verify your content with credible sources, and automatically add data-backed insights to your posts.
4. Add Media (Optional)
Click “Add Media” in the bottom-right to include images, carousels, or videos in your post. Adding media is optional but recommended for better engagement. See the guides below for detailed instructions:6. Create LinkedIn Post
Click “Generate Full Post” to create your personalized LinkedIn post. The LinkedIn Super AI Agent creates content that:- Sounds genuinely like you
- Reflects your professional values
- Optimizes for LinkedIn’s algorithm
- Maintains consistency with your previous content
- Includes clear sources for all referenced information
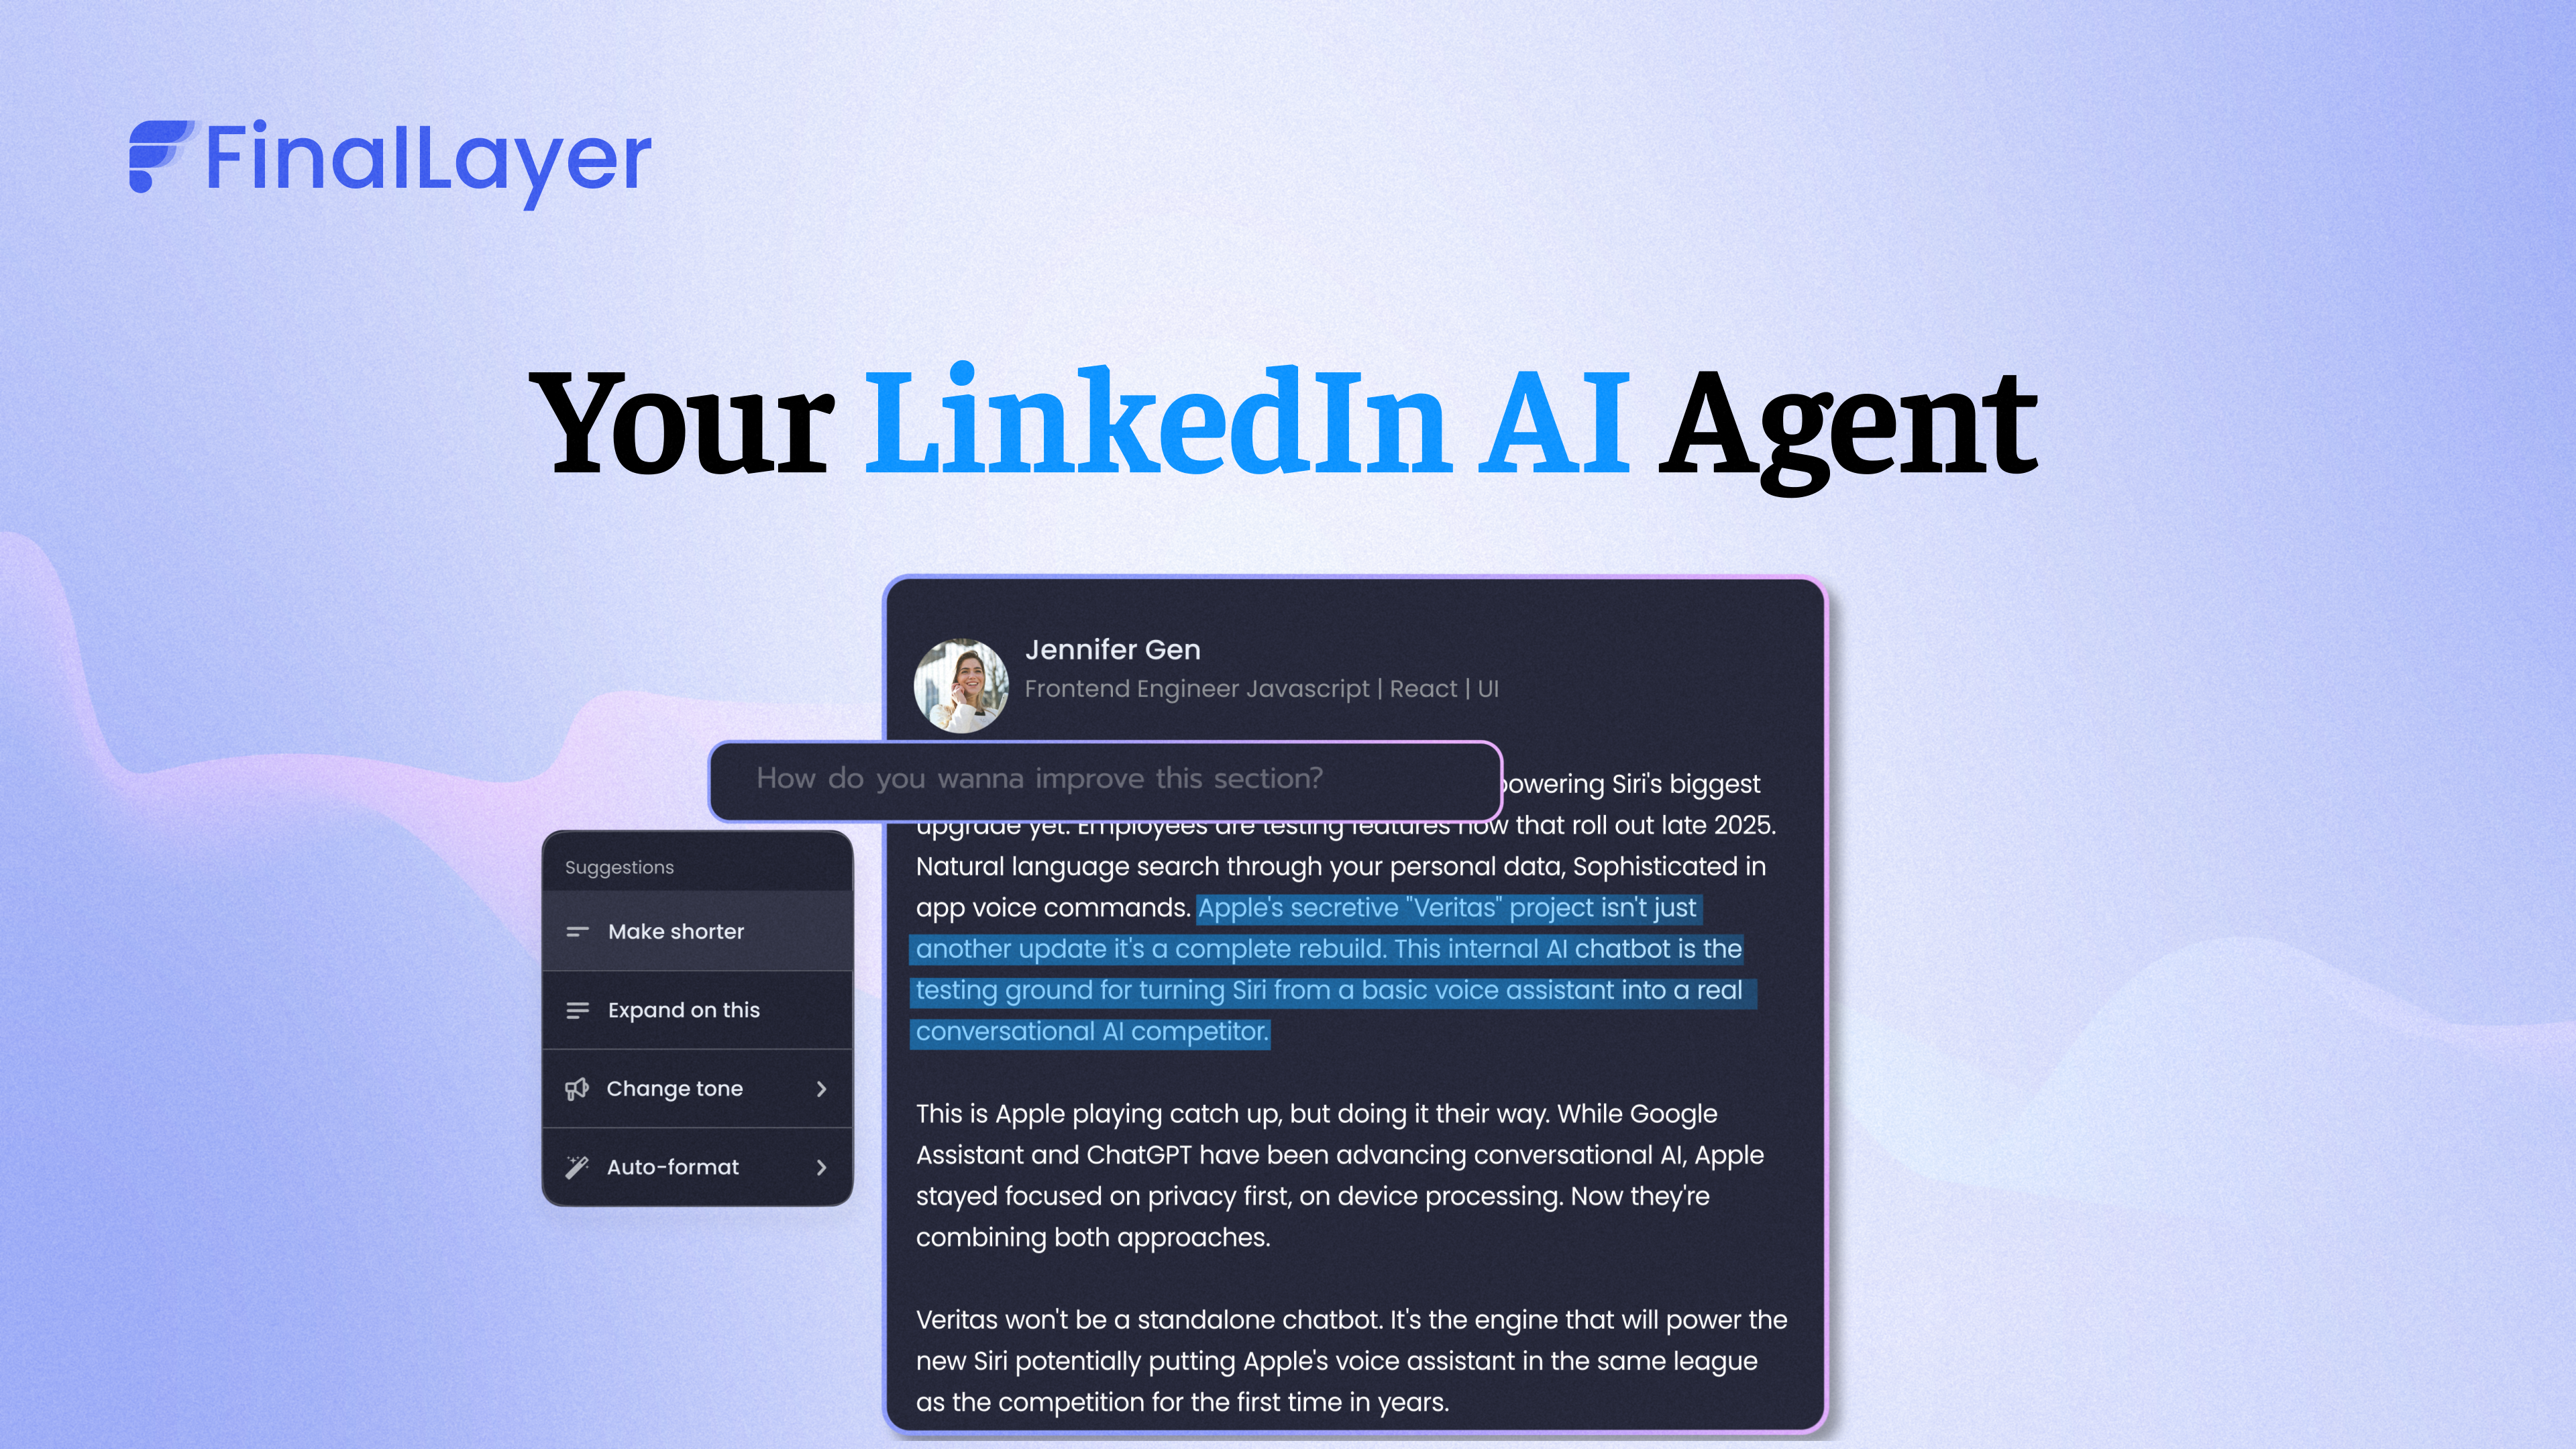
7. Refine Your Post (Optional)
See the guides below for detailed instructions:- AI editor - Make intelligent refinements:
- Adjust tone or length
- Add specific details
- Improve clarity
- Post formatter - Perfect the presentation:
- Add line breaks for readability
- Place emojis strategically
- Add bullet points and spacing
- Apply bold emphasis to key points
9. Publish or Schedule Your Post
- Publish Now Click “Post on LinkedIn” to publish directly from FinalLayer. For more details, see “Publish to LinkedIn”.
- Schedule for Later Click “Schedule post” and enter your preferred time in natural language. The post will be scheduled for the specified time.
Tips for Best Results
- Add reference posts for personalization - The more you use FinalLayer, the better it understands your voice.
- Review and refine - Use the AI editor to perfect your posts before publishing.
- Post consistently - Regular posting builds authority and engagement over time.
- Use custom prompts - Be specific about what you want to communicate.