

If you’re reading this, you’ve probably spent hours scrolling through folders named “Untitled_Project_FINAL_v3” or lost a clip because it vanished into the digital abyss. A single disorganized moment like this can derail deadlines and kill creativity.
Think about those YouTube videos that flow like water or those corporate productions that tell stories with precision; behind their polished exterior lies a well-structured content organization system.
From Hollywood post-production studios to rising YouTube creators, the secret extends beyond creative cuts to knowing exactly where every clip, sound file, and effect lives in your project.
In this guide, we're about to explore video organization strategies that work across the spectrum of video editing. Whether you are handling massive multi-camera productions or crafting daily content for social media, these approaches can scale to match your project's scope.
While we'll dive deep into traditional organization methods that have served editors well for years, I'm also excited to introduce you to the FinalLayer approach. This innovative system offers a remarkably simple yet powerful way to organize your video assets with enhanced searchability that can transform your workflow. As we explore both conventional wisdom and this fresh perspective, you'll discover which system aligns best with your creative process. So let's start:
1. Foundation of Video File Management
Every video editor knows that finding what you need when you need it is a time-consuming process. But if all the video files are organized better, then it gives you a sigh of relaxation. Get this right, and everything else will flow naturally. Below are three main steps that will help you create a strong foundation for video file management.
Creating a robust file structure
Gone are the days of chaotic "Video Project" folders overflowing with unsorted files. To keep up with modern workflows—and save yourself hours of frustration—you need a file structure that’s intuitive, repeatable, and software-friendly. Here’s how to build one that grows with your projects.
Start with a master folder using this format:
ProjectName_Date_ClientName (e.g., SummerAdvert_2024-08-25_AcmeCo).
This avoids confusion between versions and keeps client work easily searchable. Inside, organize files into numbered main folders like this:
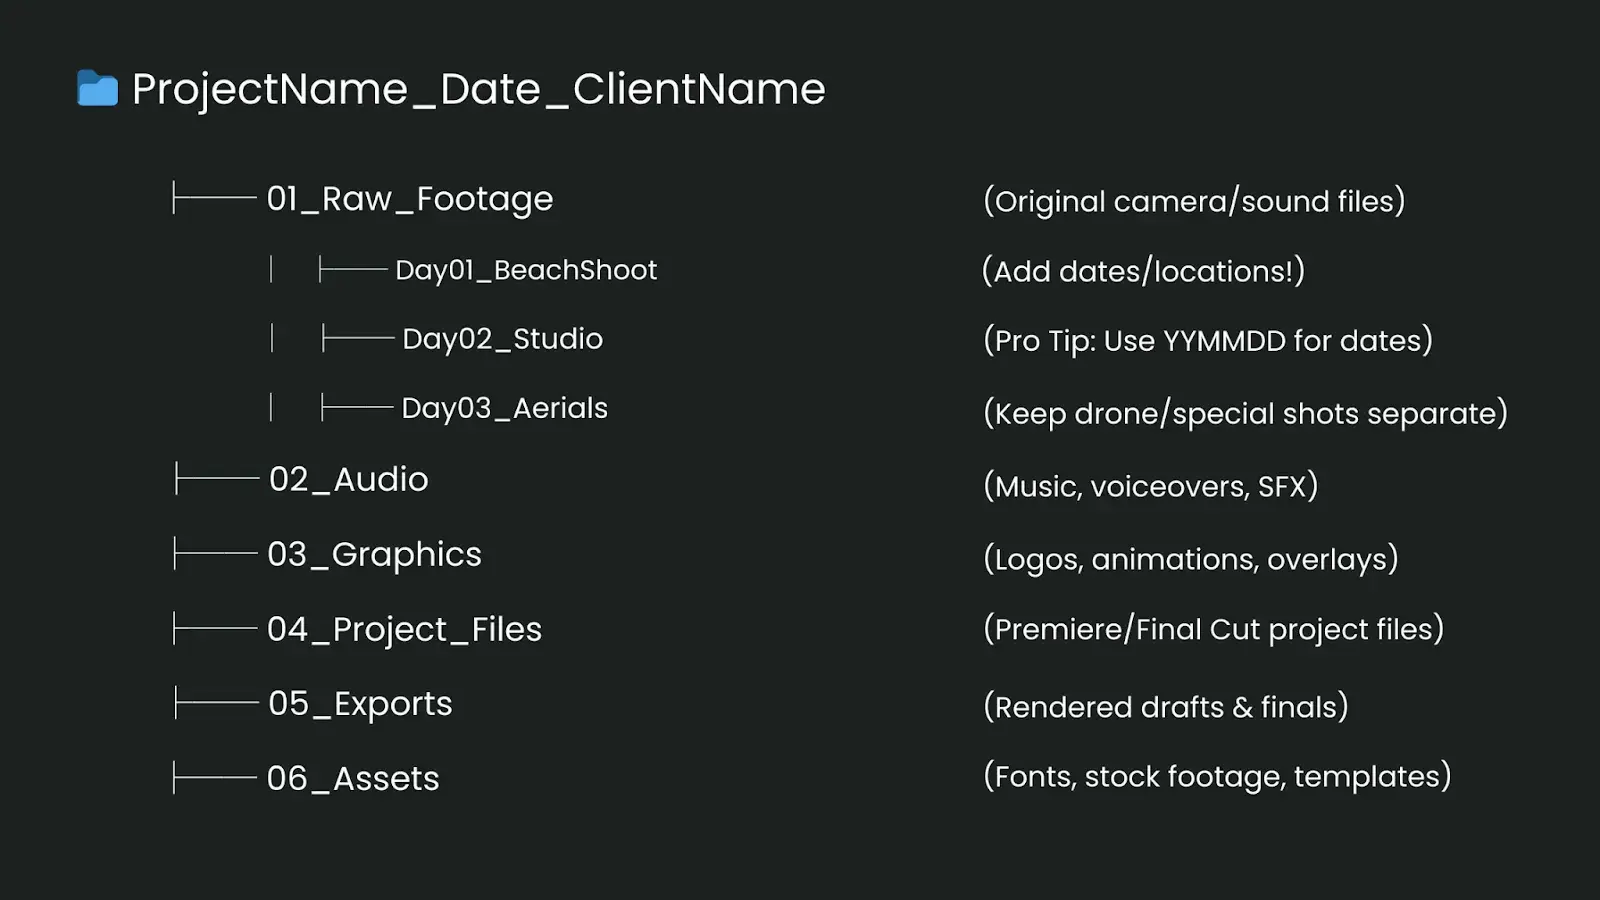
You can see that each main category can have specific sub-folders that align with your project's needs. For instance, under 01_Raw_Footage.
But here’s the game-changer: What if your editing software automatically understood what’s inside your files? With FinalaLayer, we take organization further by creating smart, searchable bins.
For example, Search “sunset” to instantly find all golden-hour shots across folders. The AI searches across the content of video, not just filenames.
Naming conventions
Here's where many editors stumble over inconsistent naming conventions. The key is creating a system that's both informative and scannable. Your file names should tell a story:
ProjectName_YYYYMMDD_SceneName_ShotType_TakeNumber.extension
For example:
ClientX_20240311_Interview_WS_T01.mov
ClientX_20240311_Interview_CU_T03.mov
This system instantly tells you:
- Which project does it belong to
- When it was shot
- What type of shot is it
- Which take you're looking at
If you are working with a team, always keep in mind that you should create an organized system that your team can follow effortlessly every day.
Document your naming conventions with clear, straightforward guidelines that everyone can understand and implement.
The strength of your system depends not on its complexity but on how consistently your team applies it. Keep your documentation simple; a one-page reference guide often works better than an extensive manual.
Drive organization
Let's demystify professional storage workflow with practical, real-world implementation. Here's how a three-tier storage system actually functions in a professional editing environment:
Working drive flow (SSD performance tier)
Working drive management is the foundation of efficient editing. This acts as your active workspace where every file has a purpose, and every folder serves a specific function. Here's how you can master it:
Start each project by establishing your core directory structure. When a project begins, create your essential folders:
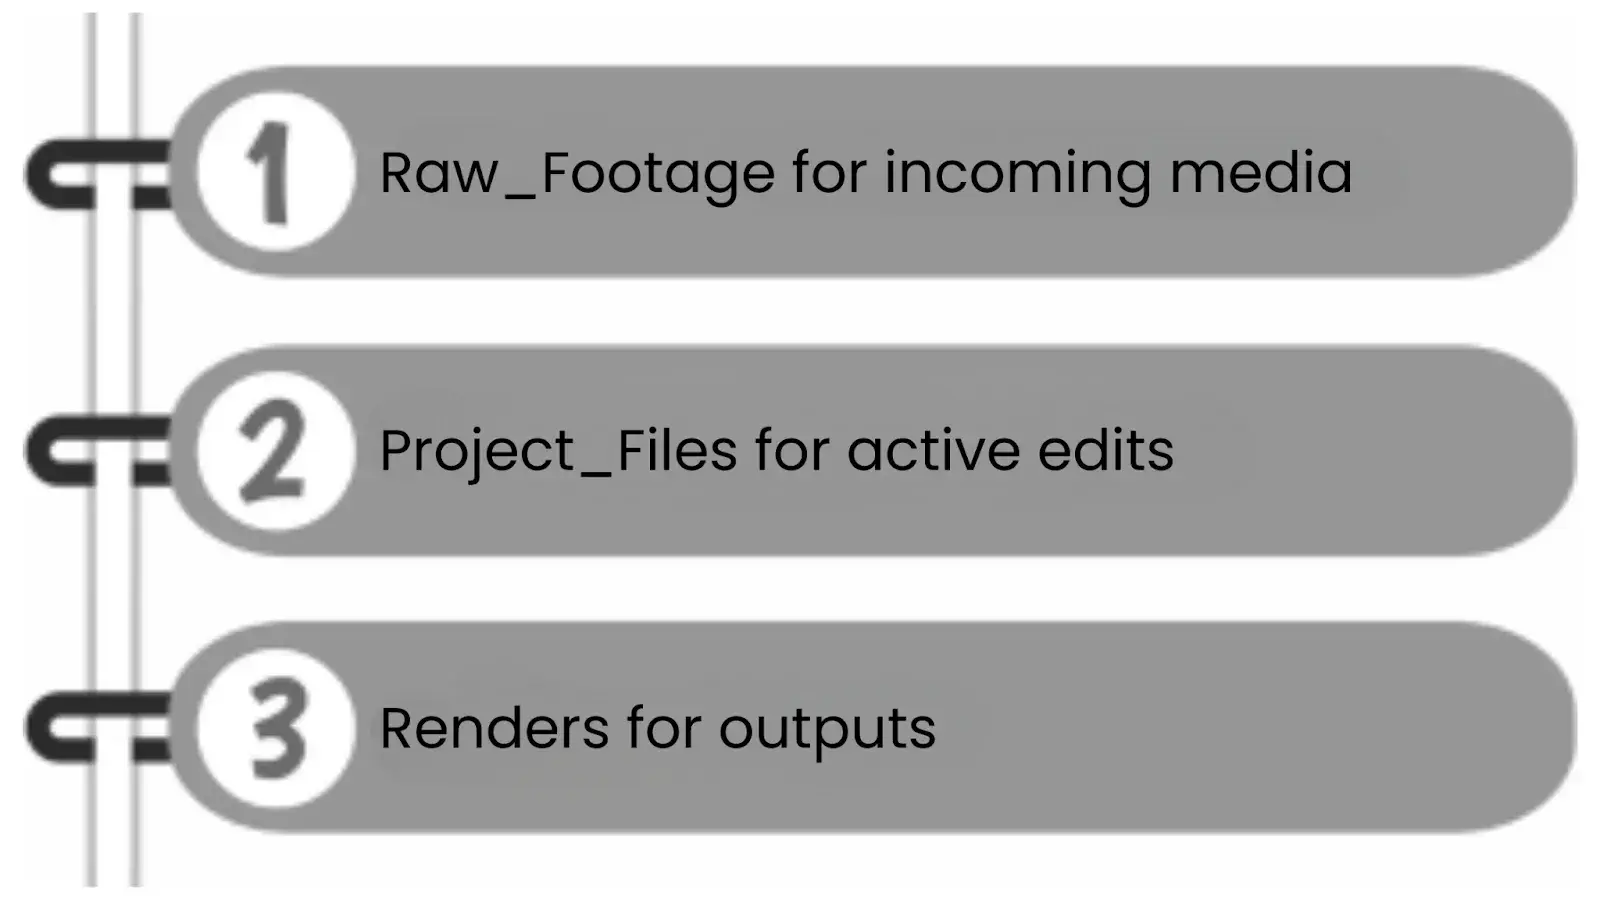
As footage arrives, it flows directly into designated folders within Raw_Footage, organized by shoot date or content type.
Your editing files stay in Project_Files, with clear version numbering and auto-saves configured.
Renders get sorted between Drafts for works in progress and Finals for client-approved exports.
But wait, are you Worried about your organized drives becoming chaotic again? Let's simplify this into a daily rhythm that keeps your workspace pristine. Here's your daily drive management cycle that prevents the mess before it starts.
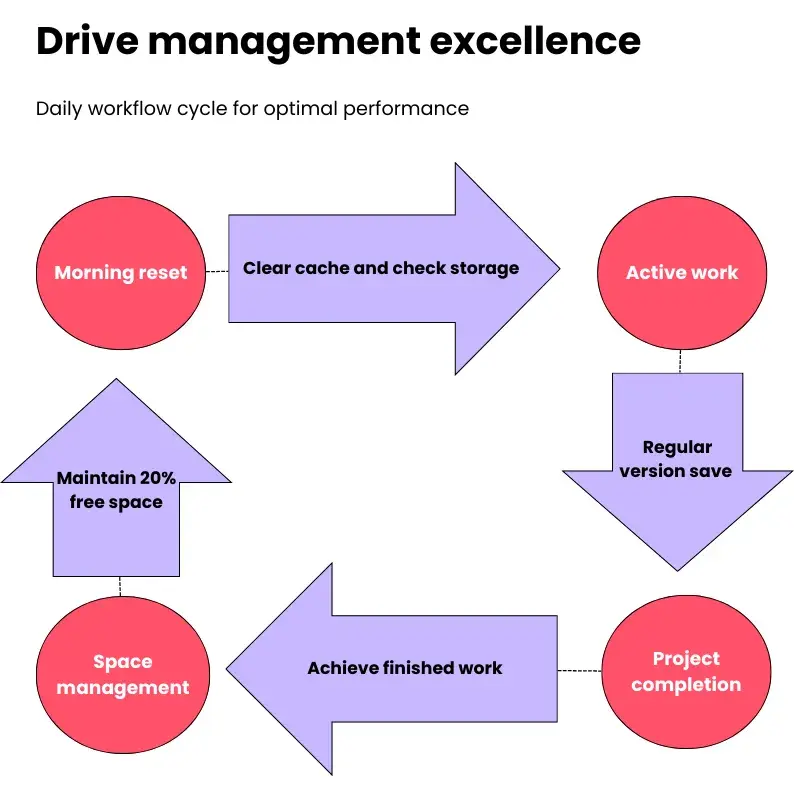
This organized approach ensures that you spend less time managing files and more time focusing on creative decisions.
Backup strategy
For backup, you'll want to set up a robust 3-2-1 backup system to keep your essential project data safe.
You can start by maintaining a dedicated backup drive, which should have the exact same folder structure as your primary working drive. This way, everything has a designated home.
Next, automate regular backups between the working drive and the backup drive. This ensures your files stay in sync without you having to remember to do it manually.
To add an extra layer of protection, complement this with an offsite cloud storage solution. This will make sure that even if something happens to your physical drives, your data is still secured in the cloud.
Regularly monitor your backups, clean up old versions, and test that you can actually restore data from them.
By combining local and remote backup strategies, you can rest easy knowing your projects are safeguarded against hardware failures or other unexpected issues.
Archive system
When you've completed a project, it's time to archive everything for safekeeping properly. The key is to maintain a consistent, organized structure for your archived materials.
Assume it is like this: You've got a main ”Archive_Drive” that houses all your past projects, organized by year.
Inside each yearly folder, you've got subfolders for your different clients. And within each client folder, you've got the individual project folders. These project folders follow a standardized structure:
01_FINAL_EXPORTS for the approved deliverables.
02_PROJECT_FILES for the source materials and edits.
03_KEY_ASSETS for any important graphics or media.
04_PROJECT_NOTES file to document anything important about the project.
This ensures you can quickly find what you need, even if you're revisiting an older job. The beauty of this system is that it eliminates ambiguity about where your assets live.
Everything has a clear, logical home, no matter what stage of the project lifecycle you're in.
Real-world application
During active editing, you'll want to keep your raw footage on a speedy working SSD for maximum performance.
Set up your editing software to auto-save your project files every 15 minutes to a separate SSD partition; that way, you'll have frequent backups without having to remember to do it manually.
And when you're ready to export daily renders, send them to your working drive, then transfer them to your backup storage.
When it comes time for client review cycles, create a dedicated Clint_Review folder to house those export copies.
Once the client approves a version, you can move it over to your Finals folder. And after final approval, migrate the entire project over to your archive storage.
This holistic workflow ensures there's no single point of failure in your system. Plus, it helps you use your storage resources efficiently and enables quick disaster recovery if anything goes wrong.
This foundation sets the stage for everything that follows in your editing workflow. In the next section, we'll dive into how this organizational structure translates into your actual editing software.
2. Project Architecture: Mastering Your NLE Workspace
Just as a well-organized kitchen makes a chef more efficient, a thoughtfully structured editing workspace can transform your production flow.
Let's dive into how to architect your project for maximum efficiency within your editing software.
Bin organization: The art of digital asset management
Bin is your project's nervous system; it needs to connect everything while maintaining perfect order efficiently. Let’s learn how to structure them step-by-step.
Parent bins
Start with numbered parent bins to maintain a consistent order:
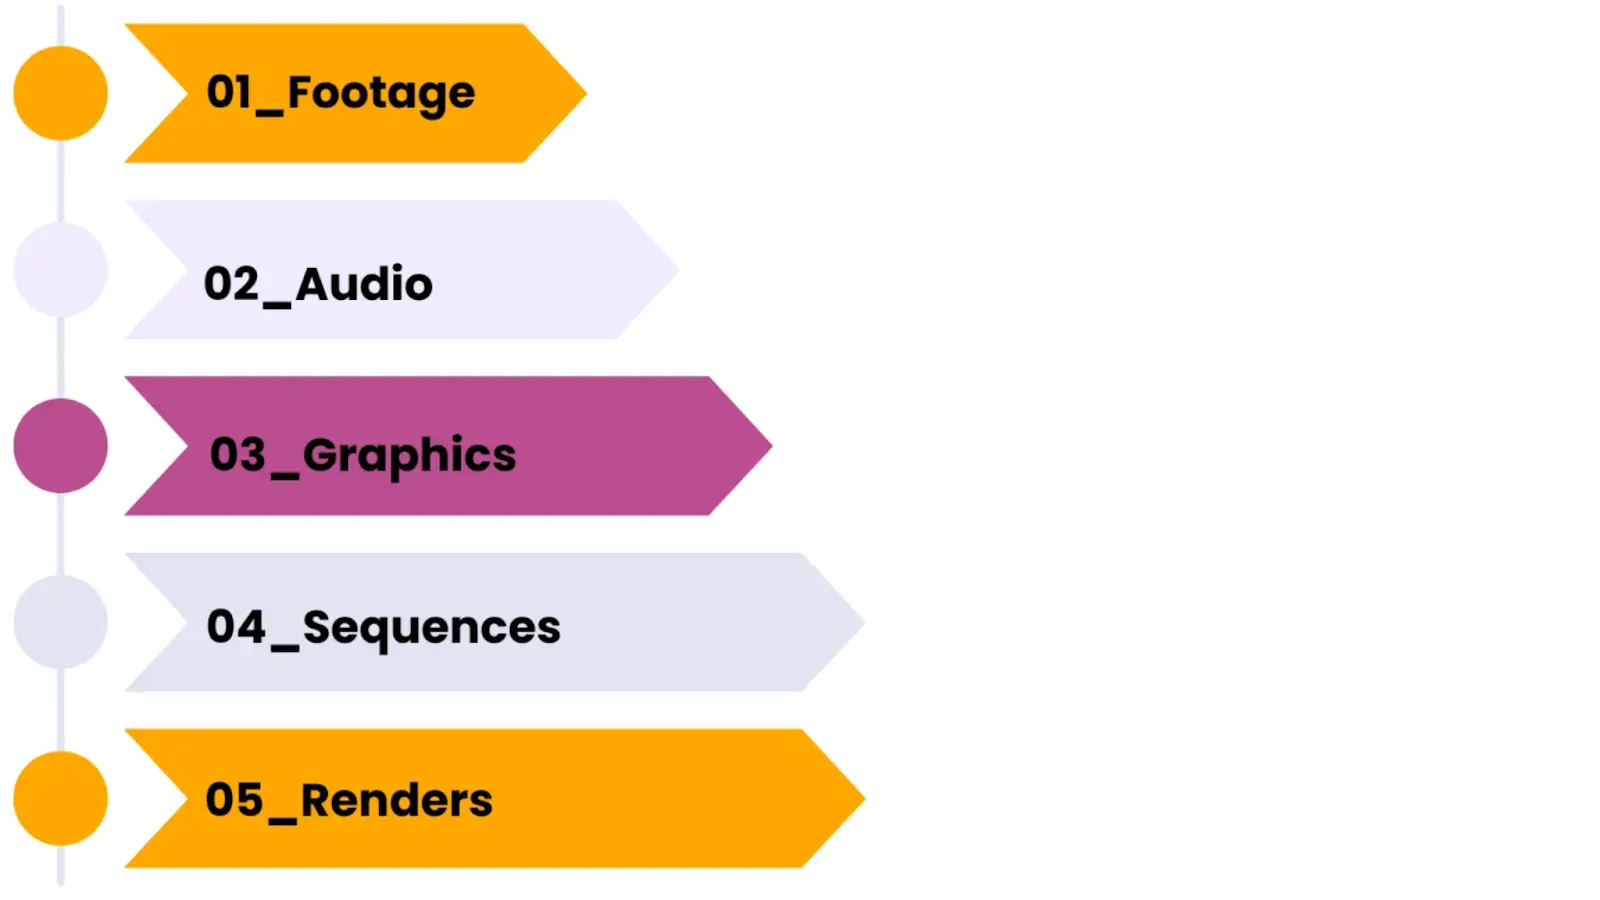
Pro tip: Color coding these parent bins (red for footage, green for audio, etc.) creates instant visual recognition. When you're 12 hours into an edit, these visual cues become invaluable.
Sub-bins
Your sub-bin structure should be fluid yet organized. Inside your footage bin, consider categorizing by:
- Shooting days
- Locations
- Interview subjects
- Scene numbers
The goal is never to have to think, "Where would I have put that?" The answer should be intuitive.
The art of sequence management
Sequence management is more like conducting an orchestra; each sequence uniquely creates the final masterpiece. Let's explore how to turn this powerful feature of modern NLEs into your greatest editing ally.
Crafting your assembly line
Start with your raw footage assembly—this is your story's first breath. Rather than diving straight into fine cuts, build a foundation.
Open your assembly sequence and lay out your footage chronologically.
For documentaries or interviews, create dedicated sequences. These become your content libraries, easily accessible whenever you need that perfect quote or moment.
The magic happens when you organize your B-roll sequences thematically.
Here, FinalLayer is a game changer. You can organize your B-rolls according to what is inside the video, and you can access them with a single search. Get started to shoot up your editing workflow.
Instead of hunting through bins, imagine having all your establishing shots in one sequence, emotional reactions in another, and process shots in a third.
When you need that perfect transition shot, it's right there, ready to use.
The edit
Your main editing sequences tell the story of your project's evolution.
Start with v01, but here's the crucial part: each new version should represent a significant change, not every small tweak.
These versions should act like chapters in your editing story when the client wants to "go back to how it was before," you'll know exactly where to look.
Create scene-specific sequences for complex projects.
This modular approach lets you perfect individual segments before weaving them into your main edit.
The Pancake timeline
While crafting our story, we always have this intuition to see all our footage simultaneously.
To make it possible, we can use pancake timeline. This method is a game-changing approach to video editing. It creates a vertical editing environment where your selected footage lives above your main timeline, like a two-story editing suite.
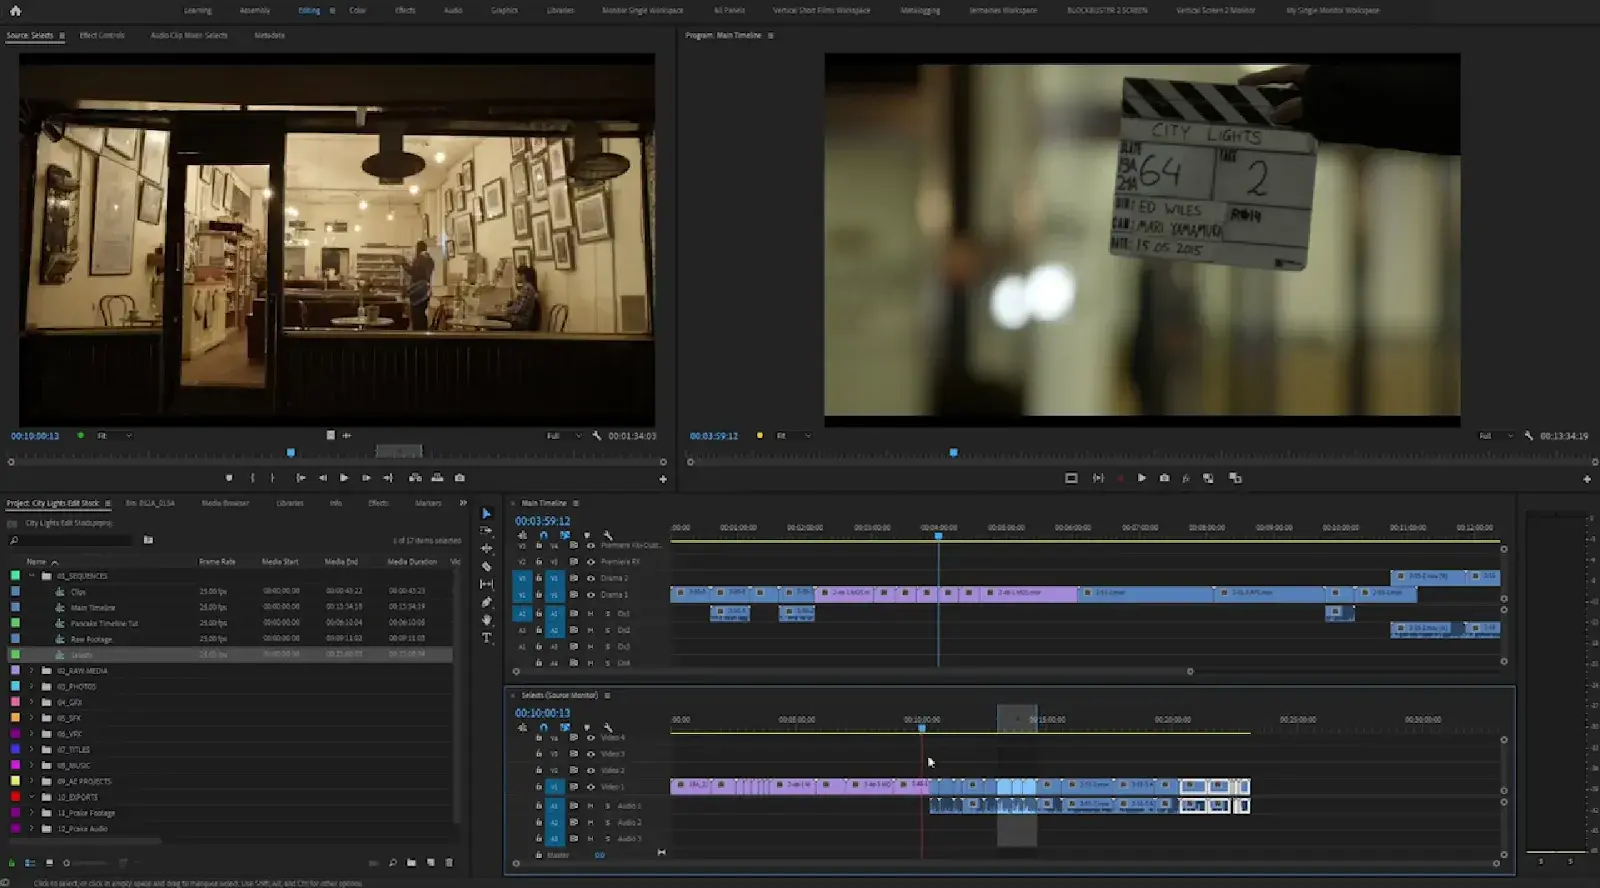
The setup is simple: stack your selected sequence on top of your main editing timeline in your software.
This arrangement gives you a complete view of both your available footage and your work in progress, allowing you to effortlessly drop clips down into your edit.
It's like having an organized digital workbench where every tool and material is within arm's reach.
Keeping your edit space clean
Remember that brilliant transition you created but decided not to use?
Instead of deleting or cluttering your project, create a "Trash" bin.
These aren't failed edits; they're ideas waiting for the right moment. When you need fresh inspiration, your previous experiments are there, organized, and ready to spark new creative directions.
3. Media Management Mastery
Let's tackle what separates casual editors from professionals: sophisticated media management. This is like having a system that scales up with your project's complexity.
Organize your media like a conductor arranges an orchestra, every piece knowing its role in the greater symphony.
1. Footage organization
Smart proxies and performance
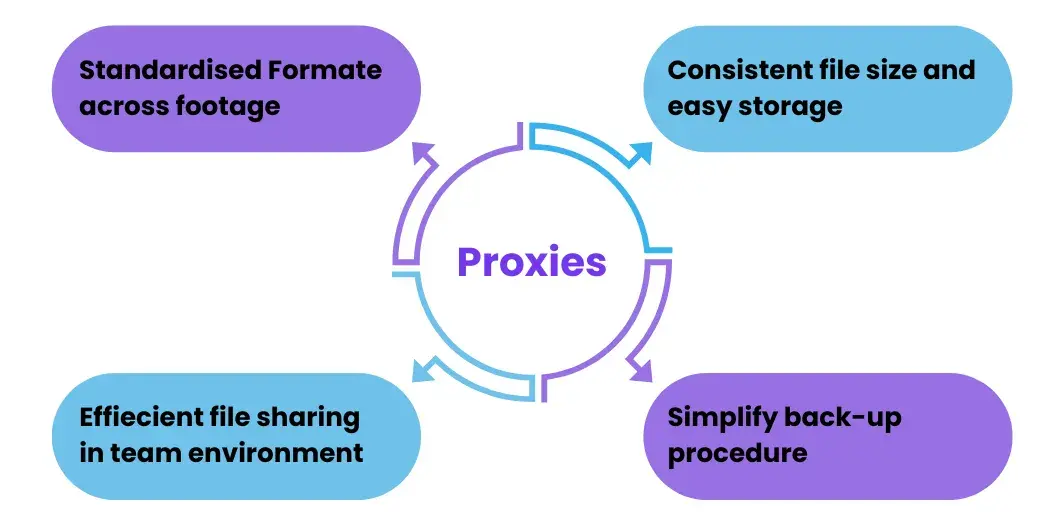
Your relationship with proxies shouldn't be an afterthought; it should be strategic. Proxy workflows do more than just improve playback performance; they enhance your organizational structure. How?
Proxies create a clean, efficient working environment. By maintaining a separate proxy folder structure that mirrors your original media, you keep your workspace organized and easily navigable.
This parallel organization means you're never wondering which proxy belongs to which original file.
The system maintains perfect organizational symmetry while giving you the flexibility to work with either version.
Pro Tip: Use your proxy organization as a template for future projects. Once you've established an efficient proxy workflow, it becomes a repeatable system for all your work.
Metadata implementation
Metadata is essentially information about your project. While that might sound technical, it's actually a powerful tool that transforms how you organize and find content in video editing.
For instance, in a documentary project, a single interview clip might contain metadata like:
- Subject: Jane Smith
- Topic: Environmental Impact
- Emotion: Passionate
- Quality: 5-stars
- Key Quote: "We must act now."
- B-roll Needs: Urban landscape
This detailed tagging means you're not scrubbing through hours of footage when you need that perfect moment. You're performing a quick search that takes seconds.
The beauty of metadata is that it grows with your project while keeping everything instantly accessible.
FinalLayer leverages the latest developments in AI to help editors interact with metadata. When you upload your media to FinalLayer, it automatically generates searchable transcripts. This means you can instantly locate specific dialogues or key phrases without manually logging them.
Beyond transcription, FinalLayer's tagging system allows you to create custom metadata categories and tags, making it simple to categorize and retrieve footage based on any criteria you choose.
2. Asset categories
1. Audio management
Every sound needs its perfect place. A well-structured audio system enables editors to craft immersive soundscapes that elevate visual narratives to new heights. Here's how to create a system that enhances your storytelling while maintaining ideal order:
Dialogue
Label tracks with character names and emotional context. Think: "SC01_John_Angry_T3" instead of just "Scene1_Take3". Include quick emotional markers and performance notes in metadata.
Ambient and music organization
Organize ambient sounds by location and intensity. Structure music by emotional journey rather than genre—"Building_Tension" serves better than "Fast_Music."
Sound design elements
Keep effects organized by function and scene. Every sound should be instantly findable when you need that perfect transition or impact moment.
For music, think in terms of emotional journey rather than simple categories. Structure your music bins to reflect the story's emotional arc.
That uptempo track you loved might be filed under "Energy_high" and "Story_climax" rather than just "Fast_music."
2. Graphics
Graphics organization forms the foundation of an efficient design workflow. A well-structured graphics system ensures consistency, reusability, and rapid adaptation across your entire video project.
Creating an effective graphics management system begins with establishing your root structure through main folders.
The master_elements folder maintains foundational brand components, including logos, color swatches, and typography files. The clear documentation of color codes and font specifications ensures brand consistency throughout the project lifecycle.
The_ Templates section functions as your graphics foundation, structured by categories like lower thirds, transitions, and title sequences. This systematic approach enables rapid implementation while maintaining design consistency.
Project_specific graphics organization focuses on content segments with descriptive labeling of custom assets.
Version_Control in the variations folder maintains chronological revision rounds with dated versions and client feedback. Prominent flagging of preferred versions and clear progression documentation prevent confusion during review cycles.
The_Final folder demands precise organization with format-specific deliverable separation. Source files and final renders coexist with clear approval status indicators and comprehensive version histories.
This meticulous approach ensures quick access to approved assets while preserving the complete creative journey,
3. B-roll
B-roll is supplementary or secondary footage that adds value to your main video content. Rather than dumping clips into broad categories, create a system that thinks like an editor.
For example, if you're making a cooking video, your A-roll might be you talking to the camera about the recipe, while your B-roll would show close-up shots of ingredients, chopping vegetables, or the food cooking.
Let me explain the three main categories that will help you in organizing the B-roll in simpler terms:
Slow and calm shots
These are your peaceful, steady shots. Examples: Sunset views, flowing water, people walking slowly, time-lapse clouds
Use these when you want to slow down your video's pace or create smooth transitions.
Action-packed shots
These are your energetic, moving shots. Examples: Sports moments, busy street scenes, fast-moving objects.
Use these to add excitement or emphasize important points
Detail close-ups
These are your intimate, close-range shots. Examples: Fingers typing on a keyboard, food being plated, products being unboxed
Use these to show essential details or create emotional connections.
To streamline this process, FinalLayer's intelligent library lets you build a searchable B-roll system. Tag clips based on mood or visual elements, and find the perfect shot in seconds rather than scrolling through endless folders.
What next?
Supercharge your organization with FinalLayer’s intelligent library and AI search.
Organization in video editing works as a multiplier of creative potential. We've explored how, through systematic workflows and intelligent media management, well-structured content leads to greater creative freedom.


